Are you tired of waiting for your yeast - based dough to proof? The Instant Pot, a versatile multi - cooker, can be your secret weapon to speed up the bread - making process and get you to that delicious homemade loaf faster. In this article, we'll explore how to proof dough in an Instant Pot and set your recipes up for oven success.
First, let's understand the science behind dough proofing. Proofing is a crucial step in yeast - based baking. Yeast is a living organism that ferments the sugars in the dough, producing carbon dioxide gas. This gas gets trapped in the gluten network of the dough, causing it to rise. Traditional proofing methods often rely on warm, draft - free environments, which can take a significant amount of time. But with the Instant Pot, you can control the temperature and humidity more precisely, reducing the proofing time.
To start, you'll need to gather your ingredients. For a basic bread dough, you'll typically need flour, water, yeast, salt, and sometimes sugar. Make sure your yeast is fresh and active. You can test it by dissolving a small amount in warm water with a pinch of sugar. If it starts to foam within 5 - 10 minutes, it's good to go.
Once your dough is mixed, shape it into a ball and place it in a greased bowl. Cover the bowl with a damp cloth or plastic wrap. Now, it's time to set up the Instant Pot. Pour about 1 cup of water into the Instant Pot insert. This water will create steam and help maintain the right humidity for proofing.
Next, place the bowl with the dough on a trivet or a rack inside the Instant Pot. Close the lid, but make sure the steam release valve is set to the 'venting' position. This allows excess steam to escape and prevents the dough from getting too wet.
Now, set the Instant Pot to the 'Yogurt' function. This function maintains a low, steady temperature of around 100 - 110°F (38 - 43°C), which is ideal for yeast activity. Let the dough proof for about 30 - 60 minutes, depending on the recipe and the type of dough. You'll know the dough is ready when it has doubled in size. Gently press your finger into the dough. If the indentation remains, it's ready for the next step.
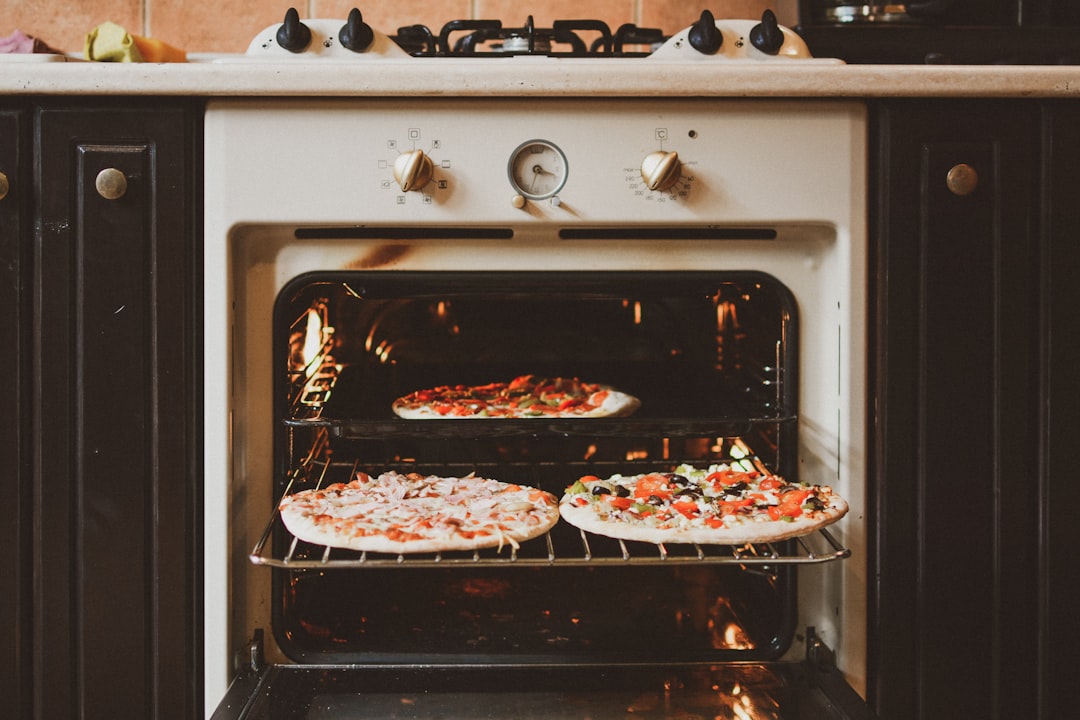
After proofing, carefully remove the bowl from the Instant Pot. You can now shape the dough as desired, whether it's into a loaf, rolls, or a pizza crust. Preheat your oven to the temperature specified in your recipe. Place the shaped dough in the oven and bake until it's golden brown and sounds hollow when tapped on the bottom.
We spoke to brand reps from the Instant Pot brand to get some insider tips. They emphasized the importance of not over - proofing the dough. Over - proofed dough can collapse during baking and result in a dense, unappetizing loaf. They also recommended using a digital thermometer to monitor the temperature inside the Instant Pot, especially if you're new to using it for dough proofing.
Here are some additional recipes that you can try using the Instant Pot for dough proofing:
- Whole Wheat Bread: This hearty bread is made with whole wheat flour, which adds a nutty flavor and extra nutrients. Follow the same proofing process in the Instant Pot, and you'll have a delicious loaf in no time.
- Soft Dinner Rolls: These rolls are perfect for a family dinner. The Instant Pot helps them rise quickly, resulting in soft, fluffy rolls that are sure to be a hit.
- Pizza Dough: Proof your pizza dough in the Instant Pot, and you can have a homemade pizza on the table in less time. Top it with your favorite ingredients and enjoy a delicious meal.
In conclusion, using the Instant Pot for dough proofing is a game - changer for yeast - based baking. It saves time, gives you more control over the proofing process, and helps you achieve better results. So, the next time you're planning to bake bread, rolls, or pizza, give the Instant Pot a try and slice into a homemade treat a bit quicker.